You have done the hard part. The paint is dry, the contract is signed, and your artwork is finally en route to the gallery. But what happens when the gallery owner actually opens that box?
“Let’s get this unpacked and see what we’ve got,” they think, eagerly cutting the tape. If they pull out a painting that requires twenty minutes of wiring and hardware installation before it can hit the wall, their excitement instantly deflates.
The golden rule of gallery relations is simple: you must reduce friction at every possible turn. When artwork arrives from an artist, I expect it to be one hundred percent exhibition-ready.
The Cost of Gallery Friction
As artists, we often view the delivery through a microscopic lens. You are sending three or four pieces to a gallery, so what does it matter if the gallery staff has to attach a few D-rings?
But you have to look through the gallery’s macroscopic lens. We are often receiving hundreds of pieces of artwork ahead of a busy season. If every piece requires wire, hooks, and manual labor, it creates a massive logistical bottleneck.
The easier you make a gallery’s life, the happier the staff will be. Happier gallery owners are far more likely to get your artwork prominently placed, eagerly discussed, and actively sold.
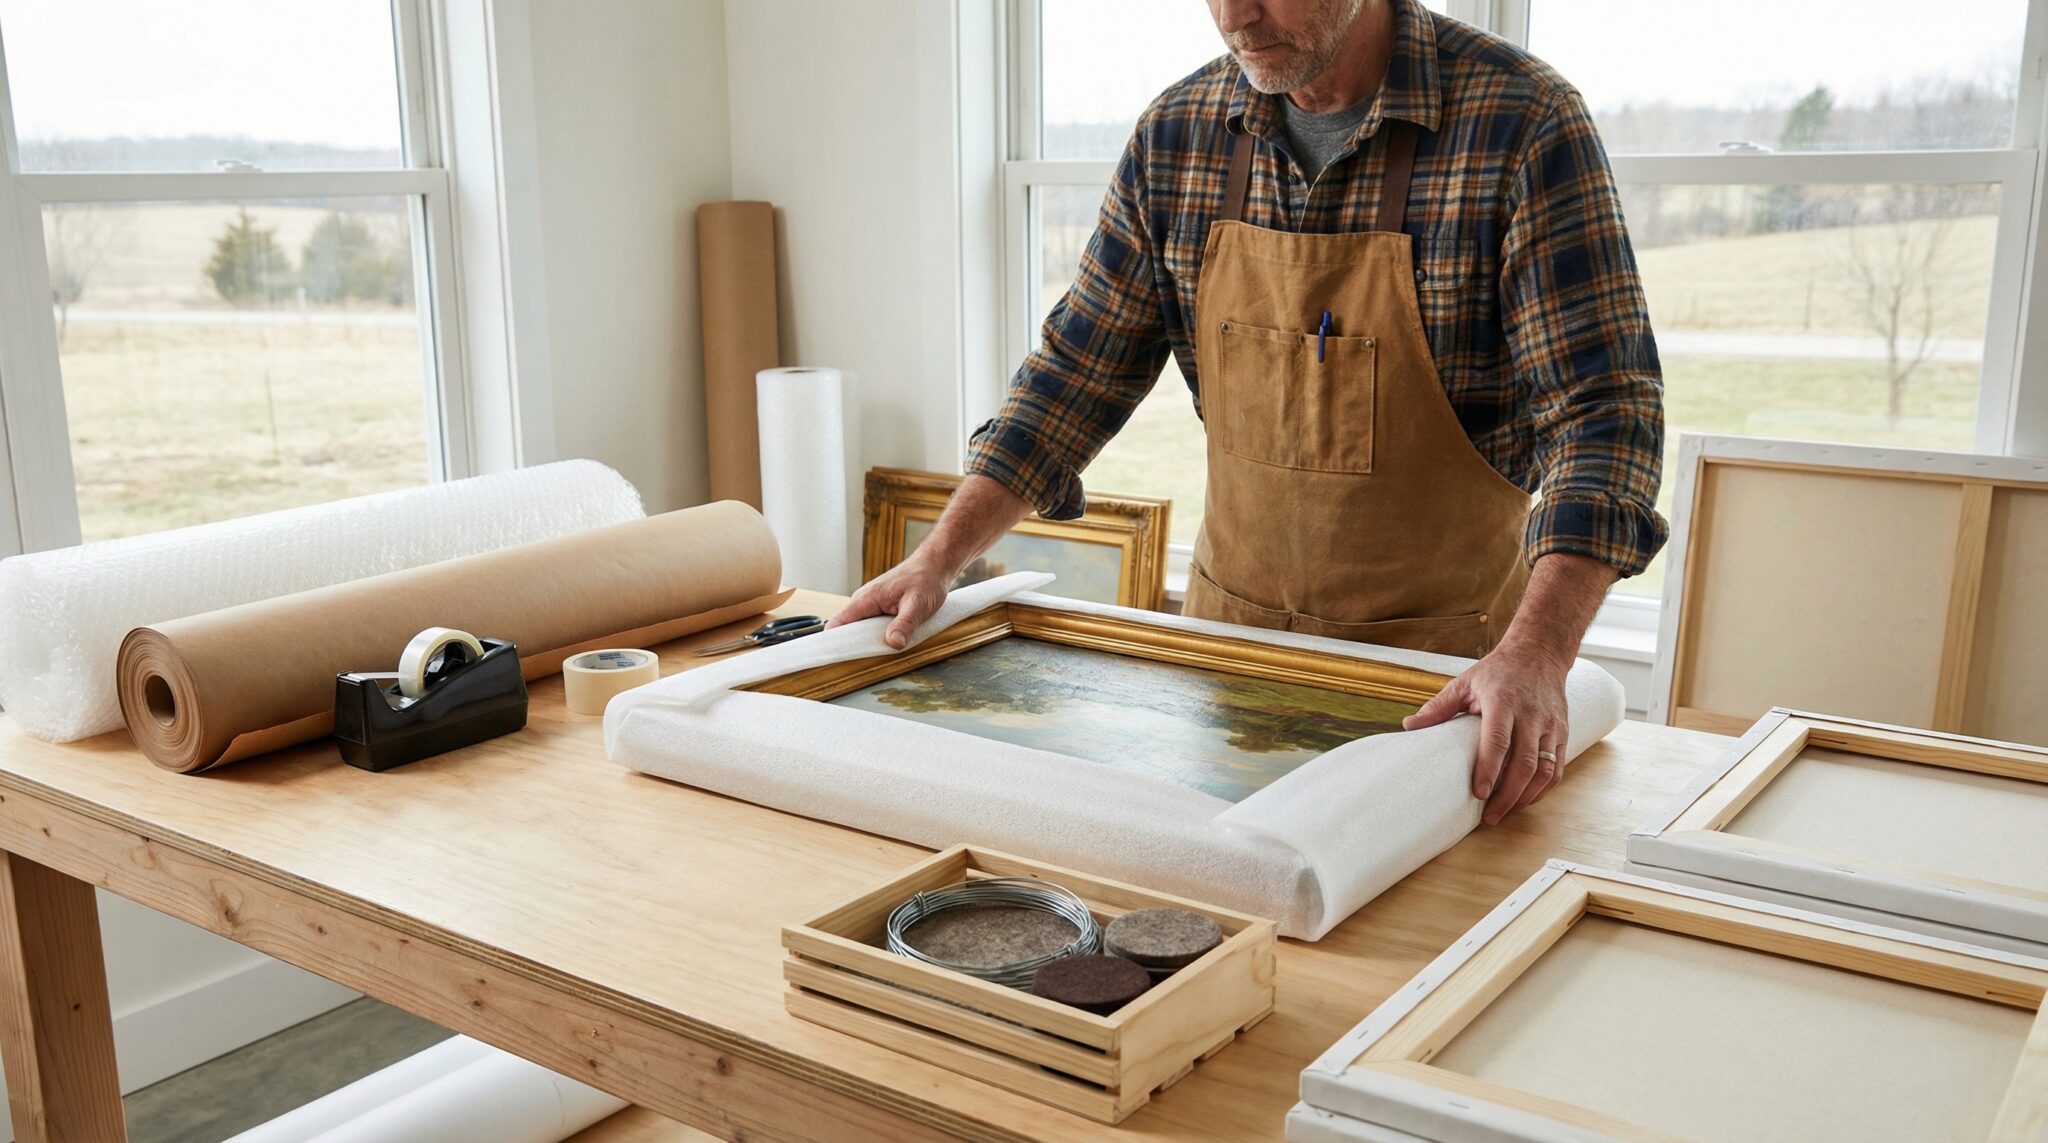
1. Wire Your Canvases Completely
Do not leave the hanging hardware to the gallery. Your two-dimensional work should emerge from its packaging completely ready for a hook.
-
Standardize your hardware: Ensure you are using high-quality D-rings and appropriate, heavy-duty framing wire.
-
Check the tension: Wire that is too loose will cause the painting to lean off the wall unprofessionally.
-
Protect the wall: Add small bumper pads to the bottom corners of your canvas or frame to prevent wall scuffs and keep the piece hanging perfectly straight.
2. Provide Comprehensive Metadata Upfront
Friction does not just happen on the physical gallery wall; it happens in the database. When I unpack a piece, I need to immediately enter it into our inventory system and generate a wall tag.
-
Send the details early: Email your high-resolution digital images, titles, sizes, mediums, and retail prices well before the physical box arrives.
-
Label the physical work: Ensure the back of the canvas or the bottom of the sculpture clearly identifies the title and your name.
-
Eliminate the guesswork: “Wait, which landscape is this exactly?” is not a question your gallery owner should ever have to ask their staff.
3. Anticipate the Needs of 3D Work
If you are a sculptor, your job is to ensure the piece can be safely and easily placed on a pedestal without causing damage.
-
Install felt pads: Always attach heavy-duty felt pads to the bottom of your sculptures. This prevents scratching on glass, wood, or acrylic display surfaces.
-
Consider weight and handling: If a piece is exceptionally heavy or requires specific handling points, provide clear, printed instructions in the box.
-
Simplify the setup: If your piece has multiple components, “How does this assemble?” should be answered by a clear, one-page diagram, not a frantic phone call.
One Final Takeaway
Your job does not end when the creative process is finished. Treating your art as a serious professional business means delivering a turnkey product to your retail partners. By removing logistical headaches, you build powerful social proof within the gallery that you are a highly dependable, professional partner.
What Is Your Preparation Process?
What steps do you take to ensure your artwork is completely exhibition-ready before it leaves your studio? Have you ever received feedback from a gallery about how your work was prepped? Share your experiences and tips in the comments below!